
I took sometime out to dabble with more OpenShift installation on vSphere 7.0.3 cluster provisioned through IBM Cloud. I was simulating an airgapped environment where i disabled potential possibilities for my cluster to escape to the internet. I designed a NAT network within and kept my traffic going outwards outwards (including DNS). This was manually done to simulate the disconnected scenario where my customers are facing day to day.
Alas. after easily more than 10+ rounds of installation, trying to understand the possible values of install-config.yaml and agent-based.yaml. I learnt a few things that I hope to capture here:-
- Wipe (or re-create the hard disk) after a cluster provisioning failure. I made an assumption that the installer will wipe it out, but it went to boot into another disk where there was another disk installed with previous RHCOS installation.
- Tracking the cluster and verifying installation progress is important.
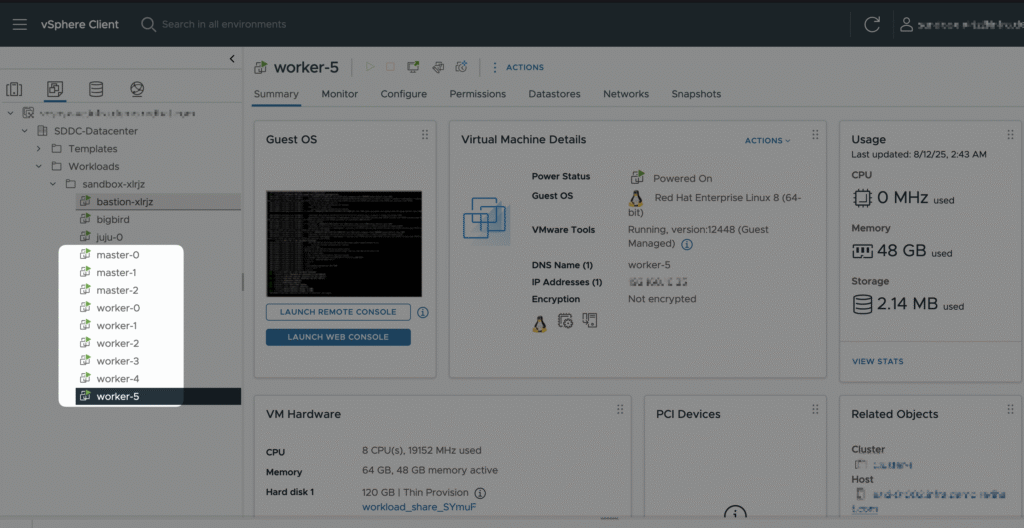
- vSphere VMs should include a VM parameter disk.EnableUUID = TRUE.
- only if required, add in the data disks to the worker nodes after cluster has been provisioned.
- Keep install-config.yaml minimal with only the two release images
- Mirror the subsequent operator images later.
- During oc-mirroring (v2), use a new directory for newly provisioned operator images. This will save you time.
- For ABA installation, the bootstrapping node is your master node, you should upsize the node with sufficient RAM. In my case, I had to upgrade from 16GB to 32GB, and sized it down later. It was fine for several rounds except this last round.
- During bootstrapping, my master and worker nodes was failing to reach Quay, and I noticed there was DNS ratelimited. I had to set a higher ratelimit. I haven’t found Quay to be an issue with the default installation, it was able to push much more than I expected (the quay architecture includes redis!)
- During reinstallation of the cluster, always use a new folder that contains your install-config.yaml & agent-config.yaml.
- tmux helped me to monitor my bootstrapping progress.
Alas, installation is finally completed for OpenShift 4.19.6 in a disconnected environment, took around ~40 minutes for 3 master and 6 worker nodes. On hindsight, the installation could have been done better if I RTFM, and search better. The documentation is pretty comprehensive with a few gotchas.
- install-config’s platform.baremetal & platform.vsphere – requires you to have VIPs specified. Although baremetal did work for me, and helped me provision two VIPs for my ingress and APIs. 🙂
- install-config’s platform.none – is what I used in the final installation step.
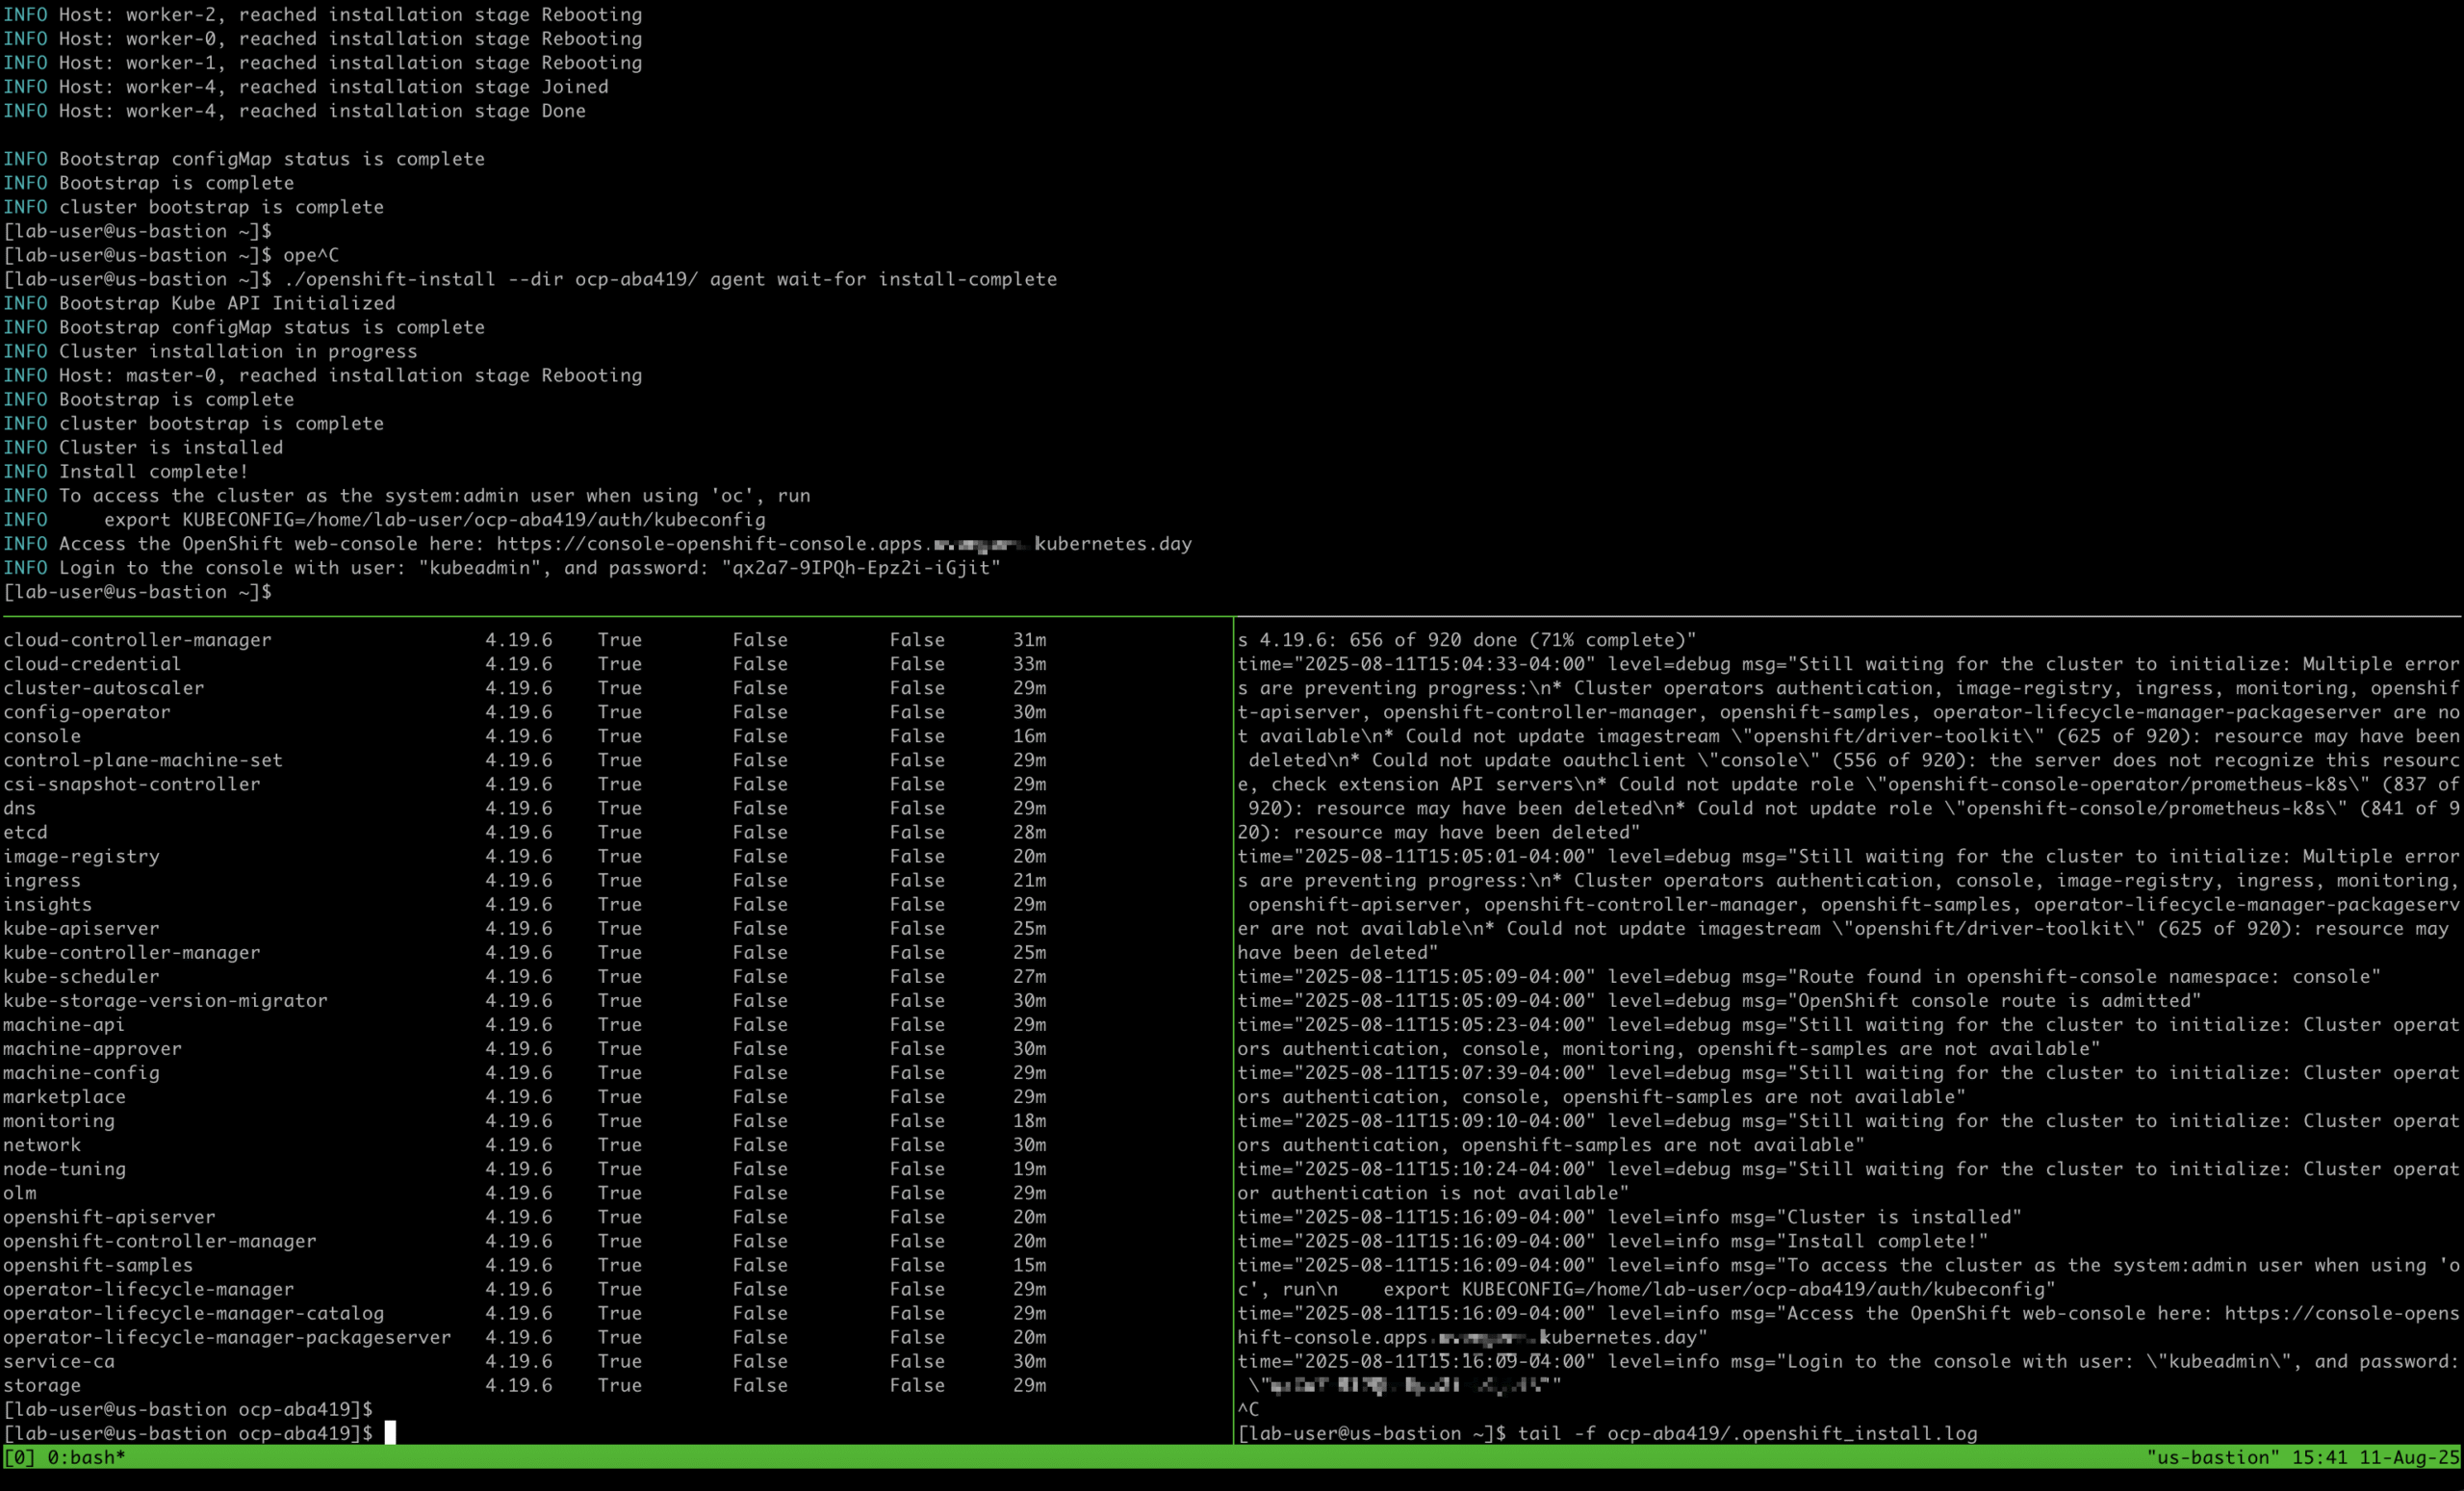
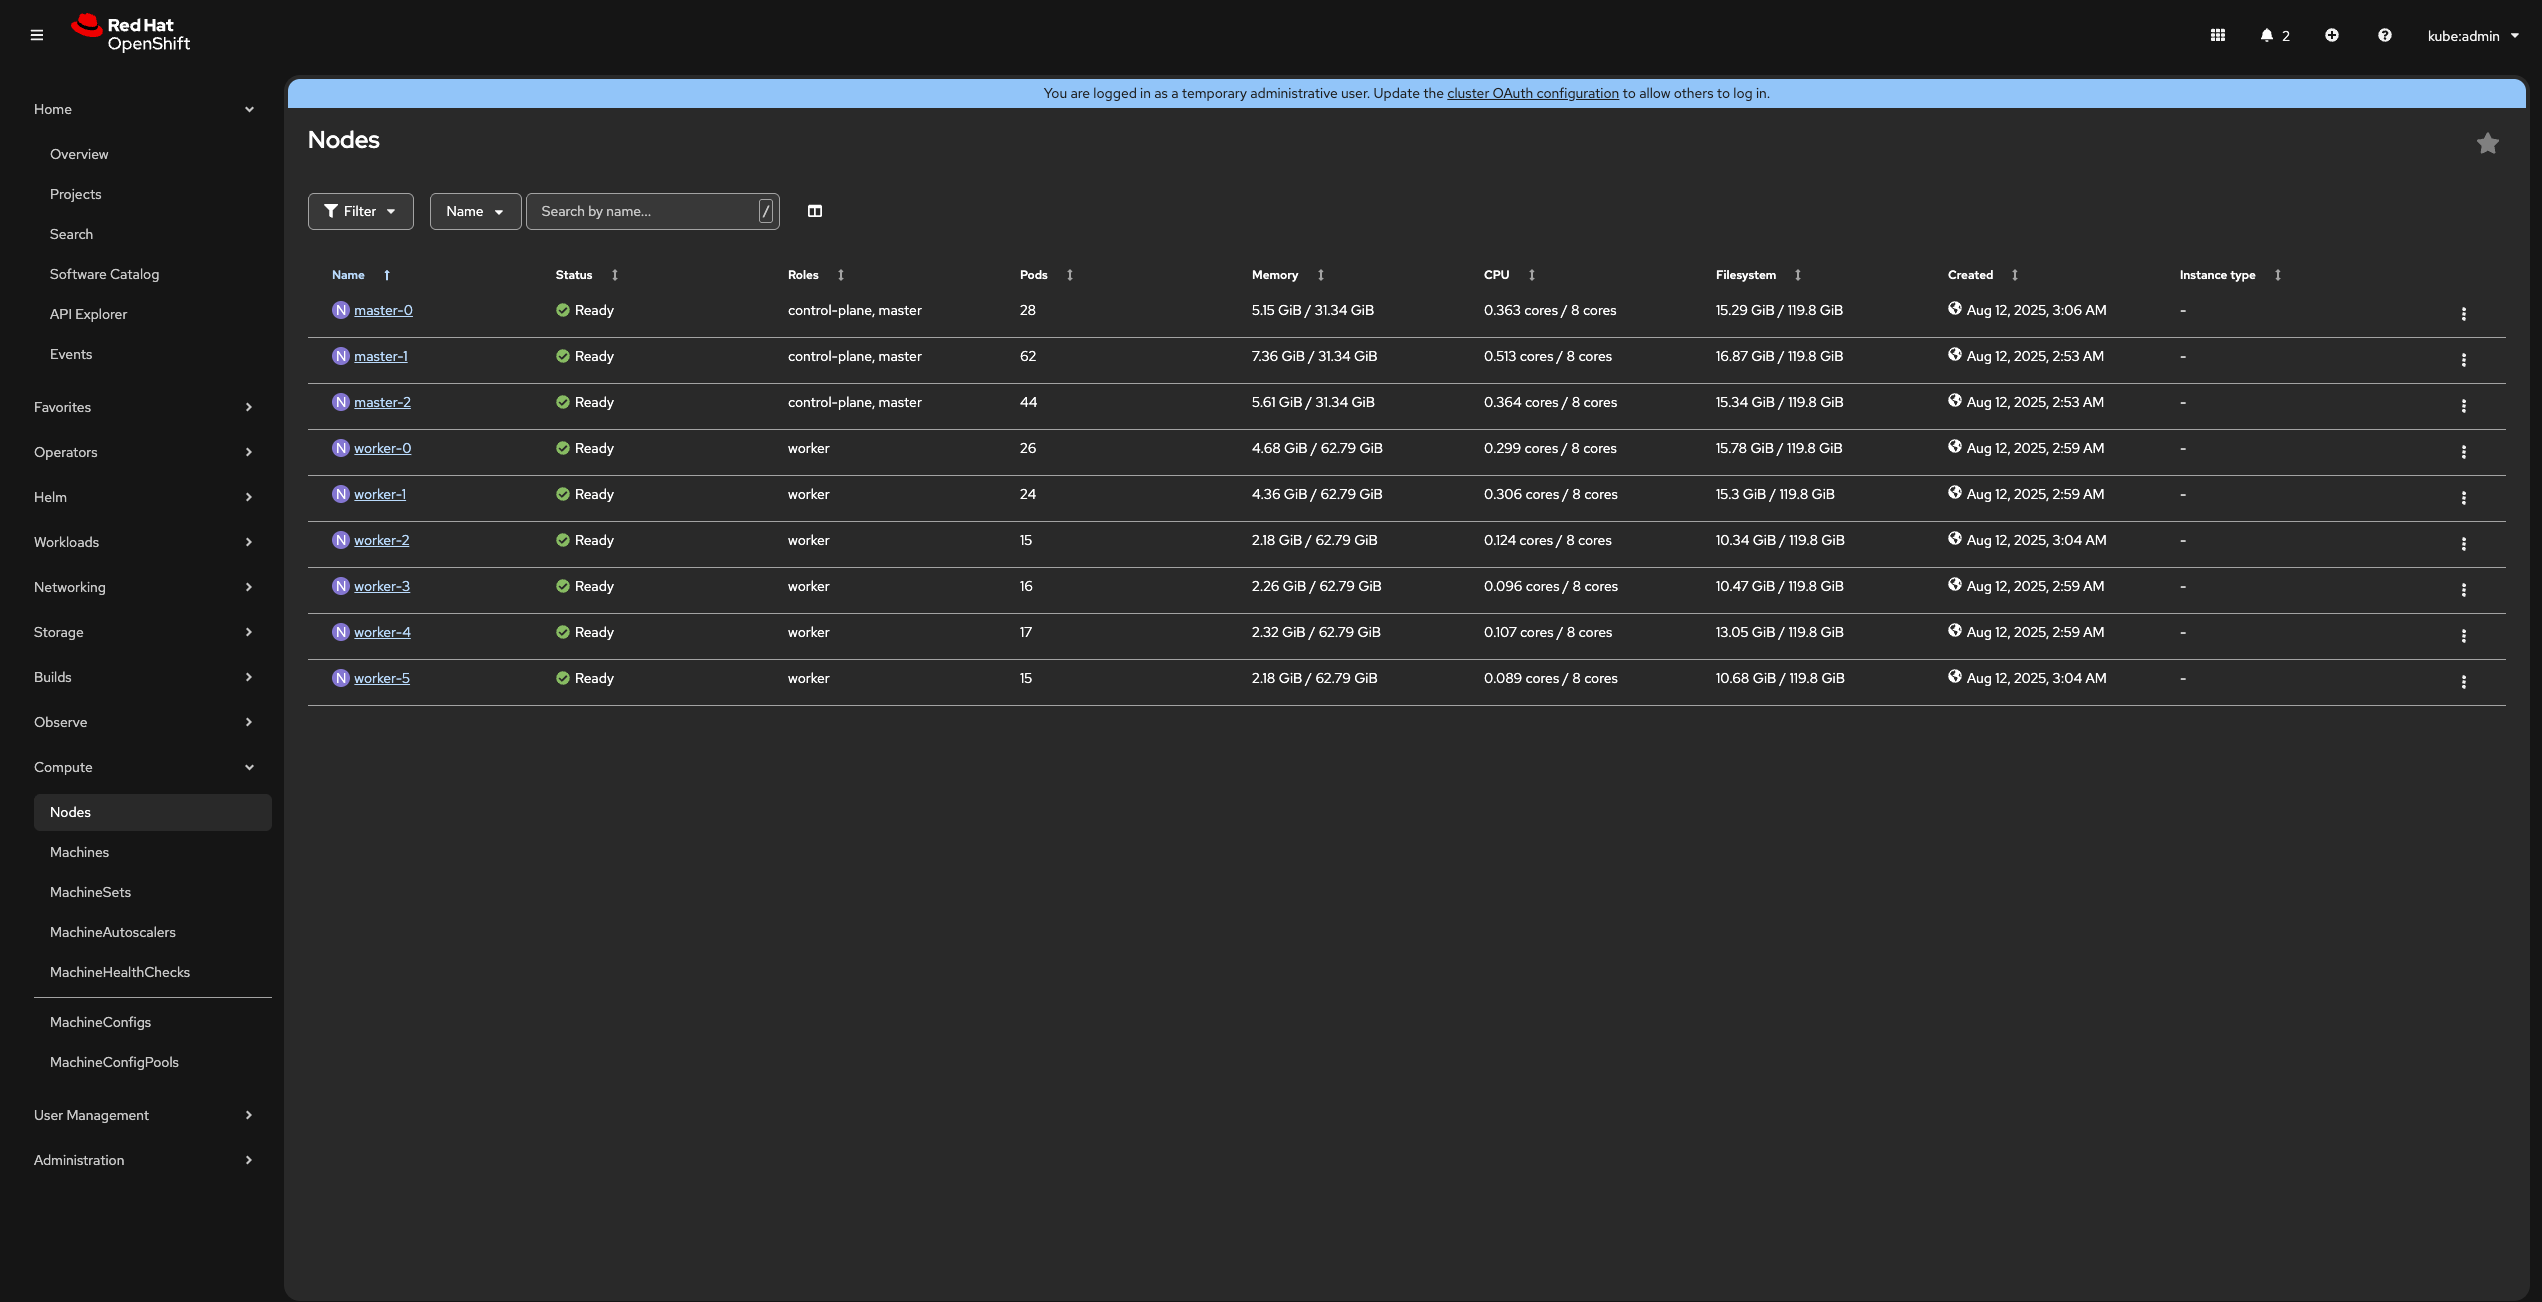
Below is the result after the installation is done!
[lab-user@us-bastion ~]$ ./openshift-install --dir ocp-aba419/ agent wait-for install-complete
INFO Bootstrap Kube API Initialized
INFO Bootstrap configMap status is complete
INFO Cluster installation in progress
INFO Host: master-0, reached installation stage Rebooting
INFO Bootstrap is complete
INFO cluster bootstrap is complete
INFO Cluster is installed
INFO Install complete!
INFO To access the cluster as the system:admin user when using 'oc', run
INFO     export KUBECONFIG=/home/lab-user/ocp-aba419/auth/kubeconfig
INFO Access the OpenShift web-console here: https://console-openshift-console.apps.XX.kubernetes.day
INFO Login to the console with user: "kubeadmin", and password: "FA-ACK-THIS"
Now that it is done, head to the blog post on day 2 post-installation steps to proceed!