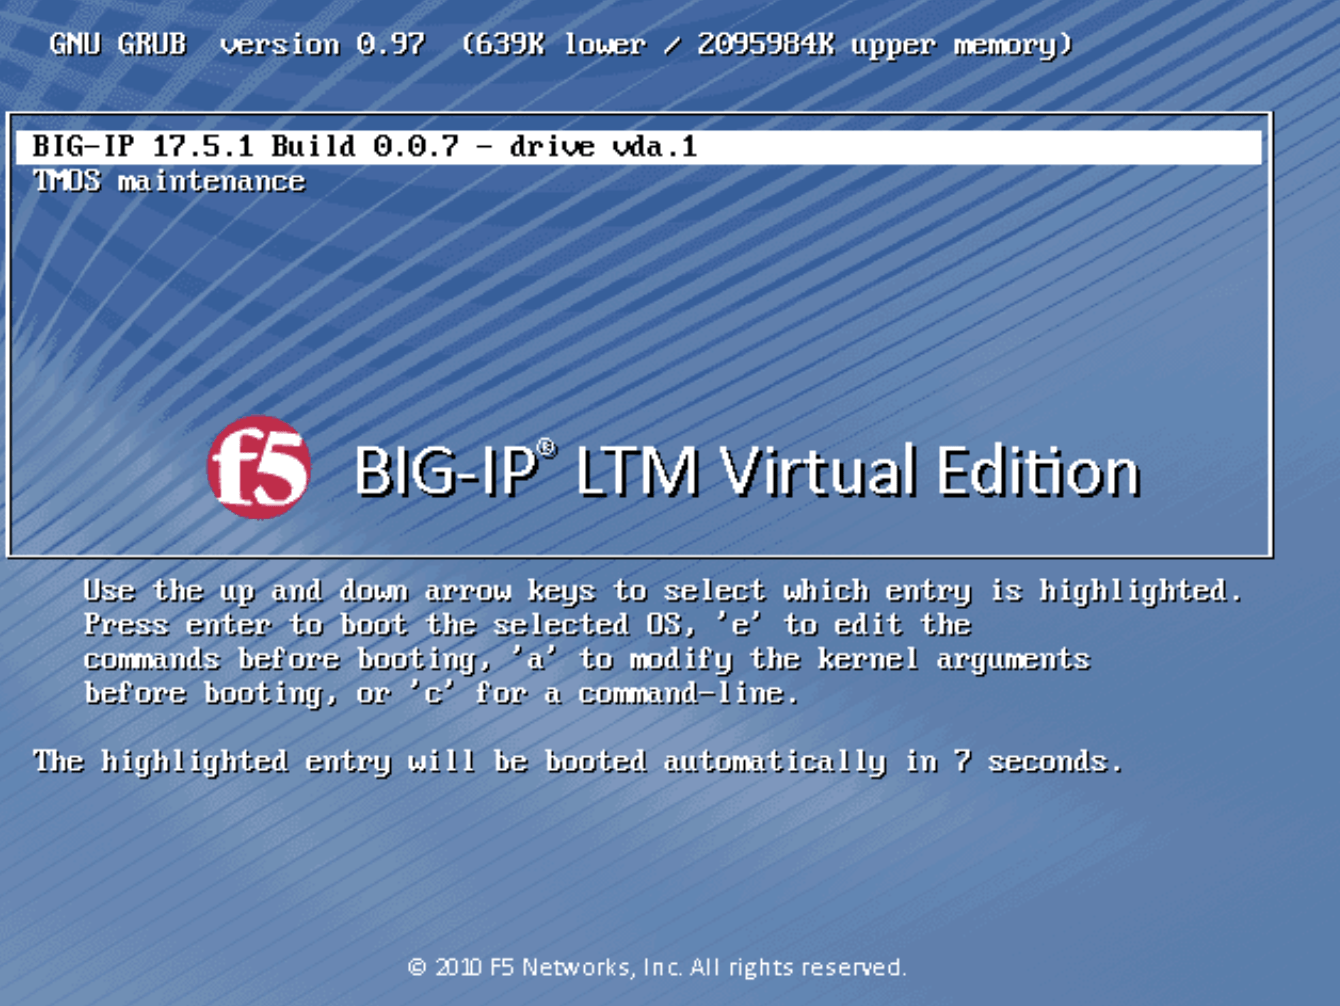
Installation was a breeze with some learning curve. If you’ve downloaded an F5 BIG-IP qcow2 image and want to boot it up inside RHEL KVM, you might have run into the dreaded error:
Size must be specified for non existent volumeThat simply means libvirt couldn’t see or use your qcow2 file properly. Don’t worry—here’s a simple, step-by-step guide to get BIG-IP running. Take note that in these steps, you can always login to cockpit to accomplish it.
In essence,
- I’ve downloaded a BIG-IP disk image (qcow2 file), this is like a “hard drive” someone already prepared with BIG-IP installed.
- I give it to KVM/libvirt so it can make a new VM that boots from this disk.
- But libvirt is picky: it only looks in certain places (/var/lib/libvirt/images) and only if the file has the right owner & security label. Our job is to move the disk where libvirt expects it, give it the right permissions, and then boot a VM that uses it.
Diagram

Step 1. Put the disk in the right place
Move your qcow2 file into libvirt’s default images directory:
sudo mv /home/john/BIGIP-17.5.1-0.0.7.qcow2 /var/lib/libvirt/images/bigip-17.5.1-0.0.7.qcow2Think of this like placing a physical hard drive into the “VM closet” where libvirt looks for all disks.
Step 2. Hand over the keys
Give ownership of the file to libvirt’s process (qemu):
sudo chown qemu:qemu /var/lib/libvirt/images/bigip-17.5.1-0.0.7.qcow2Now the right “user” qemu has permission to touch this disk.
Step 3. Fix the security stamp (SELinux)
On RHEL, SELinux enforces labels on files. Reset the correct one with:
sudo restorecon -v /var/lib/libvirt/images/bigip-17.5.1-0.0.7.qcow2Step 4. Double-check
Verify the file and its SELinux context:
ls -lhZ /var/lib/libvirt/images/bigip-17.5.qcow2You should see a label ending with virt_image_t. If you do, you’re good to go.
Step 5. Create the VM
Now we tell virt-install: “Here’s a ready disk. Just boot it.”
sudo virt-install \
  --name bigip \
  --memory 8192 \
  --vcpus 4 \
  --cpu host-passthrough \
  --import \
  --disk path=/var/lib/libvirt/images/bigip-17.5.1-0.0.7.qcow2,device=disk,bus=virtio,format=qcow2,cache=none \
  --network bridge=br0,model=virtio \
  --graphics vnc,listen=0.0.0.0,password=redhat \
  --osinfo detect=on \
  --noautoconsole
What these options mean:
--import→ don’t install an OS, just use the qcow2 file as is.--memory/--vcpus→ how big your VM is.--disk→ where your qcow2 lives.--network bridge=br0→ connects the VM to your host network.--graphics vnc→ lets you connect via VNC to see the BIG-IP console.--osinfo name=linux2022→ uses a generic Linux profile since BIG-IP isn’t in the OS list.
That’s it!
At this point, your VM should boot into BIG-IP just like plugging a hard drive into a brand-new machine. From here you can:
- Log into the console with the default credentials (varies by version:
root/defaultoradmin/admin). - Configure the management IP.
- Access the web UI over HTTPS.
- Apply your license and start provisioning.
BIG-IP usually benefits from multiple NICs (mgmt, external, internal). Just add more --network lines to your virt-install command.
Adding Multiple NICs (Management + Data)
One important detail about BIG-IP: it’s not a normal Linux VM. It’s an appliance designed to sit in the middle of your network. That means it usually needs:
- Management NIC → for web/SSH access and licensing
- External (data) NIC → for client-side traffic
- Internal (data) NIC → for server-side traffic
Without these extra interfaces, you’ll only have the management plane and won’t be able to actually process traffic through BIG-IP.
Option 1: Add NICs at VM creation (virt-install)
sudo virt-install \
  --name bigip \
  --memory 8192 \
  --vcpus 4 \
  --cpu host-passthrough \
  --import \
  --disk path=/var/lib/libvirt/images/bigip-17.5.1-0.0.7.qcow2,device=disk,bus=virtio,format=qcow2,cache=none \
  --network bridge=br-mgmt,model=virtio \
  --network bridge=br-external,model=virtio \
  --network bridge=br-internal,model=virtio \
  --graphics vnc,listen=0.0.0.0,password=redhat \
  --osinfo name=linux2022 \
  --noautoconsole
Here’s what happens:
br-mgmt→ maps to your management VLAN (you’ll assign the management IP here).br-external→ for traffic coming into the BIG-IP from clients.br-internal→ for traffic going out to servers.
You’ll need to set up Linux bridges (br-mgmt, br-external, br-internal) on your host that are connected to the right physical NICs or VLANs.
Option 2: Add NICs after the VM is defined
If you already created the VM with only one NIC, you can edit it:
sudo virsh edit bigipLook for the section and add new interfaces like:
<interface type='bridge'>
  <source bridge='br-external'/>
  <model type='virtio'/>
</interface>
<interface type='bridge'>
  <source bridge='br-internal'/>
  <model type='virtio'/>
</interface>
Save and exit. Then restart the VM:
sudo virsh reboot bigipInside BIG-IP
When BIG-IP boots, you’ll see new interfaces show up as 1.1, 1.2, etc. (BIG-IP names them differently than Linux). You can then assign:
MGMT→ Management NIC (set during initial setup wizard).1.1→ External VLAN.1.2→ Internal VLAN.
Pro tip (force Cockpit to always use system libvirt)
I bumped into the session vs system libvirt split where my cockpit session will not see the VMs running under system daemon. Especially for production environment, you’ll never want to run your VMs under your user session. So if you never want to deal with “session” vs “system” again, here’s what you can do:-
sudo sed -i 's/#uri_default =.*/uri_default = "qemu:\/\/\/system"/' /etc/libvirt/libvirt.confThis sets the system daemon as the default URI for tools like Cockpit and virt-manager. Once you do this, Cockpit will show your bigip (and any other system-defined VMs) directly.
You might need to restart cockpit libvirt:
sudo systemctl restart cockpit
sudo systemctl restart libvirtd
Final Thoughts
Working with qcow2 images in KVM is really about putting the disk in the right place, setting the right permissions, and telling virt-install to use it directly. Once you’ve done that, spinning up appliances like F5 BIG-IP becomes a straightforward process.